Building an Ugly Sweater Photo Booth With Remix
Recently, I was able to speak in a Utah Remix Meetup about a project that I did shortly after Remix went open source. Here is a link to that presentation, along with a segment from Kent C. Dodds talking about the power of Remix Forms.
Remix is a remarkable framework that you can use to build killer web applications. It recently hit version 1.0 and is now open source. I had the chance to talk more in depth about the framework with Kent C. Dodds, who is now working on the Remix team. After following his fantastic tutorial that you can find here, I wanted to dive into an application of my own when an opportunity to create a photo booth application presented itself.
As a part of a school organization for information systems students, we were planning an end-of-year social. One of the activities at the social was an ugly sweater competition. To handle the logistics of deciding a winner, along with the added benefit of being able to use a new web framework, I volunteered to create a website.
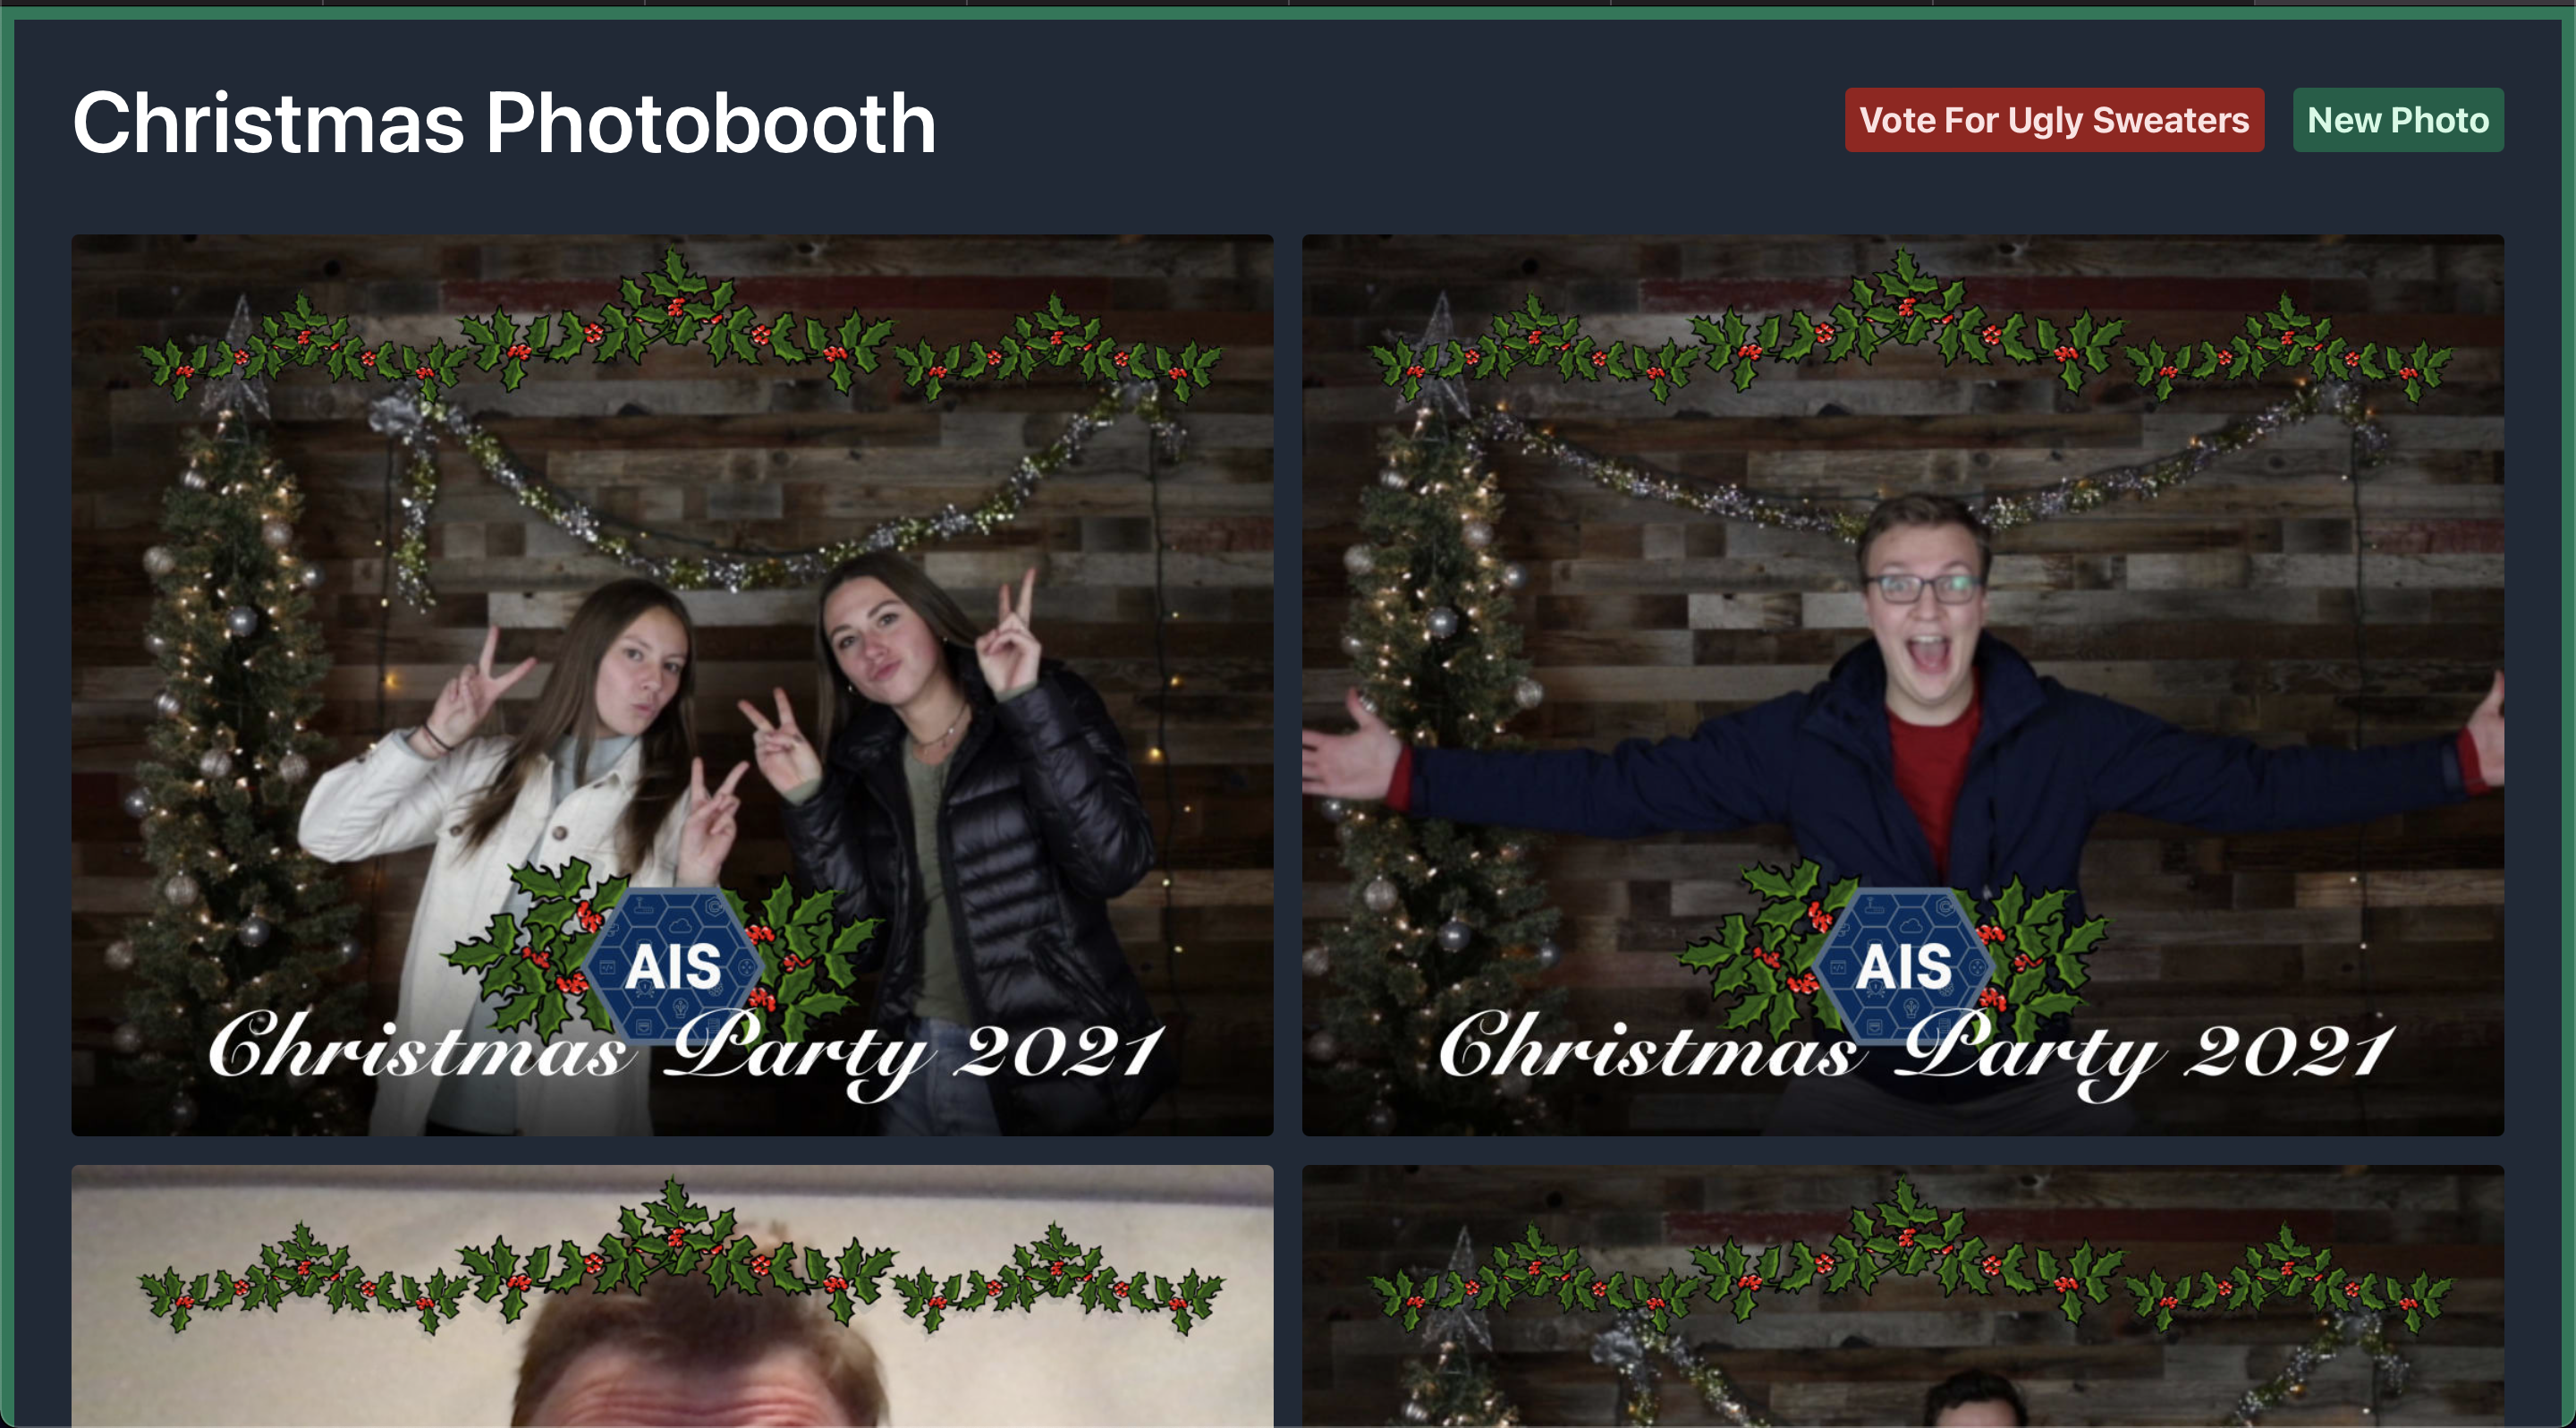
The final website had an interface to take a photo, enter contact information to receive your photo, give permission to be entered in the competition, and vote for your favorite ugly sweater. Additionally, the homepage would display all the photos that people allowed to be shown on the website that were separate from the competition.


Basic Functionality
To build out this functionality, I started with Remix, as I mentioned before. The experience was fantastic. There is a lot more to say about Remix that I will write about soon, but essentially, it is an intuitive framework that facilitates you in creating great applications or websites.
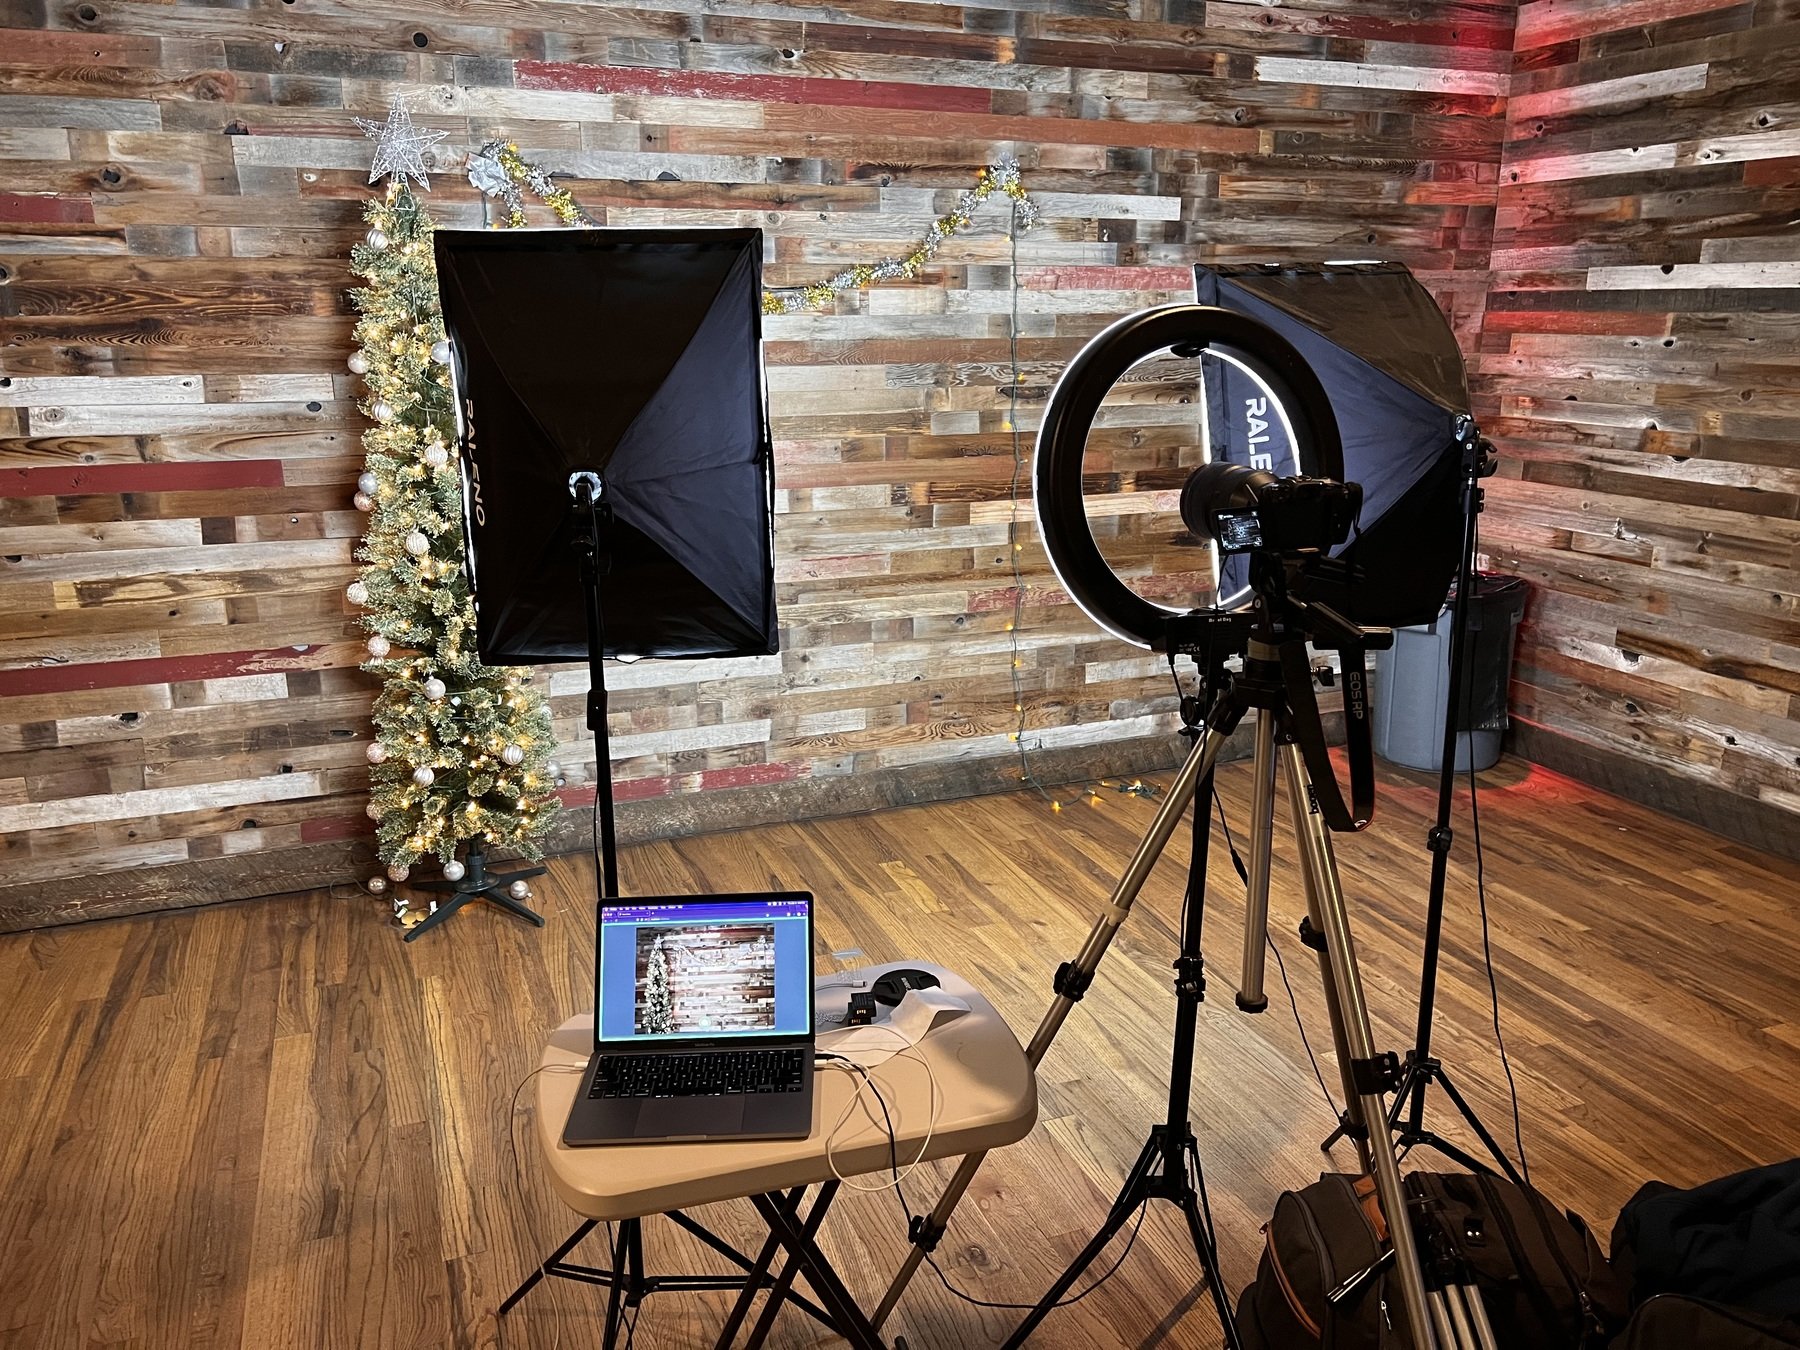
The webcam functionality just used the react-webcam package. This is one area that I would look more at in the future with more time to work on the project. On the day of the event, we found out that we had access to a nice, professional camera. I was able to get that camera working as a webcam, but without the full quality that was possible.

Next up, let’s look at some of the cool tools that I implemented into the project. Some of these are Tailwind CSS, Cloudinary, SendGrid, Prisma, and Fly.io
Tailwind CSS
Tailwind, which is a “utility-first CSS framework,” integrates easily with Remix. Working with Tailwind is a great experience. I remember using it a while ago and not seeing a considerable need for it, but as I have come back to it, I don’t see myself using any other CSS tool anytime soon.
One of the best parts about Tailwind is that it helps you build your knowledge of CSS. Each utility class ties back intuitively to the CSS that you would write from scratch, so you feel like you are still understanding CSS, but it is much easier to write quickly. This theme of building on the basics of the web while making it easier to understand and implement is right in line with how it feels using Remix.
Cloudinary
Cloudinary is a platform to manage, optimize, and deliver digital content. It was extremely useful in this project. The first piece of Cloudinary that I used was the upload API. This made it easy to get the images into the platform, which could then be delivered by email and on the other pages.
To create the border, Cloudinary allows transformations just by changing the URL. This was great as we switched up the border a couple of times before the event. The code block below shows an example of how you can just take the base url and add transformations to get your desired output.
<div className="grid gird-cols-1 md:grid-cols-2 gap-4 px-8">
  {data.images.map((image) => (
    <div className="relative w-full h-full">
      <img
        src={`${baseUrl}/c_scale,w_1120,AIS_border.png/v1637681546/${image.imageId}.jpg`}
        className="w-full rounded"
      />
    </div>
  ))}
</div>

SendGrid
One of the last enhancements to the project I made was the email functionality. SendGrid has a great API to send an email easily. I set it up and verified my email domain in a few minutes and was able to implement a server function in Remix that just passed in the image ID. From there, it just delivered the image from Cloudinary along with a message for them to vote for the ugly sweater contest.

Prisma and Fly.io
Two other tools that helped with the project are Prisma and Fly.io. Prisma is an ORM that works great with Remix. The first-party Typescript support across the board makes for a great experience in creating a database schema, and then being able to easily interface with your data.
Fly.io is a great hosting platform that has an easy-to-use CLI tool. They are doing some fantastic work with hosting on the edge that works great with Remix. The Remix team has a great guide for deployment as part of Kent C. Dodds tutorial that I mentioned above.
Final Thoughts
I had a great time building this project in my spare time over the course of a few days. Regarding Remix, there are a couple of key takeaways that I have. First is that Remix is a lot of fun. I had a great time using it and, at least for this simple application, never felt like I was fighting the framework, but that it was allowing me to do what I wanted to quickly and easily.
Second, Remix helps you build great applications. Like I said before, the framework works for you and is extremely intuitive. I love the conventions that Remix uses, as it just makes sense. There is a lot of detail that I can (and will) go into in the future. Be sure to check out the Remix docs and keep a look-out for some more articles that I am planning to write as well.
As one final point, Remix helps you be a better developer. What was astonishing to me was how much I was diving into MDN web documentation as much as I was reading Remix documentation when figuring out this first project. Remix feels more like a web framework more than just a React framework. I am excited to see where Remix goes and what I and other developers build with it.